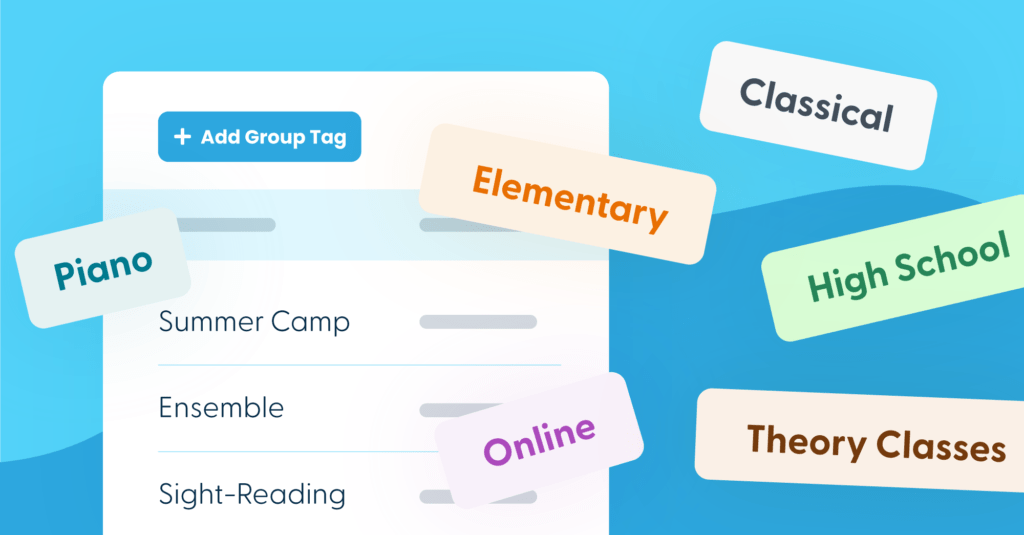
What are Group Tags and How Can I Use Them?
Group tags are a simple way to label your students so that they’re easy to select in a number of different scenarios. Below are a few examples of how you can use group tags in your studio.
Creating an Event 📅
When adding attendees to an event, you can click on “Group Tags” to add all the students with a specific group tag into the attendee field at the same time.
Example: You’d like to create a group lesson for all the piano students in your studio. You can tag your piano students with a “Piano” group tag so that when you create the event you can add them all at once.
Composing an Email 📨
When entering the “to” field in an email in My Music Staff, you can click on the “Select” dropdown to add all students with a specific group tag into the recipient field at once.
Example: RCM exam sign-up is approaching, and you want to remind all RCM students to apply by the deadline. Tag all of your exam students with an “RCM” group tag to easily add them to the recipient list.
Assigning Resources 📁
When assigning or uploading resources, you can select “Specific students or group tags” to quickly select multiple students to assign the same resources to.
Example: You have a video you want to share with all your piano students. Tag all your piano students with a “Piano” group tag to easily assign it to them.
Invoicing Families 💳
When creating a new invoice, you can click on the “Group Tags” button above the Families field to select a group of families to send an invoice to.
Example: Your families that pay by semester need to be invoiced for the upcoming semester. Tag all of these families with a “Semester Billing” group tag so you know which ones to invoice and when.
Additional Status Labeling 🏷️
You can differentiate students in your active, waiting, leads and inactive lists by adding group tags.
Example: Differentiate your inactive students by adding a group tag for “moved away”, “follow up”, or « do not contact ». As a bonus, color code your group tags so you can easily scan your inactive student list!
Adding Charges and Discounts in Bulk 💸
When creating charges and discounts, you can add them to students assigned a specific group tag.
Example: Tag all students with siblings and easily assign a discount to them all.
Streamlining with Group Tags:
Do you run camps or any other special events? 🎵
Let’s say you’re running a summer camp this year, so you decide to assign the group tag “Summer Camp 2024” to everyone attending your camp.
- Use this group tag to easily add all your summer camp students to camp events in the calendar
- Quickly select them as recipients for summer camp related emails
- Add a registration fee as a charge and apply it to all families that signed up for camp
- Create invoices for camp related costs and in a couple of clicks send it to all families
- You took so many great photos! Upload those to online resources and use the « Summer Camp 2024 » group tag
The possibilities are endless with group tags!
How to create a group tag?
- On the Students page, click on the tab at the top labelled “Group Tags”
- Click on “+Add Group Tag”
- Enter the Group Tag Name
- Optional: Assign a color to your new group tag
- Optional: Assign this group tag to students
- Click « Save »
To assign group tags to existing students, select the checkbox next to the name of all students you’d like to assign a group tag to, click on the “Options” dropdown, and select “Assign Group Tag”.
To remove a group tag from a student, go to the Group Tags tab on the Students page and select the three dots to the right of the group tag in question, and click on “Edit”. Click the X next to the students you’d like to remove from the group tag.

